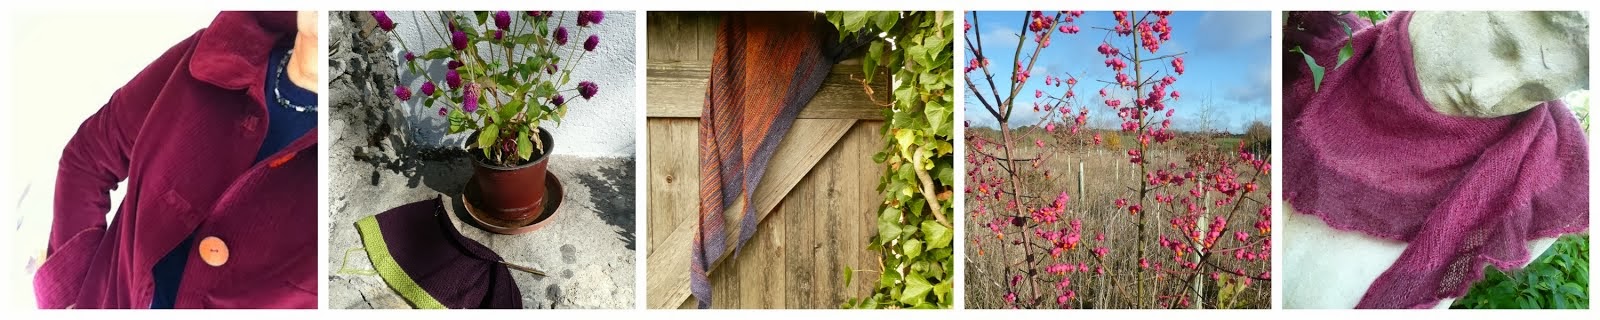
I'm super smug - I have finished my first self imposed sock yarn challenge and begun the second from a lovely reader (more of the latter later). As a sucker for sock yarn and not someone that needs more than one pair of socks a day I have stashed more sock yarn than I can use in a life time... soooo I determined this year to knit a non-sock-item for every pair of socks.
This week I designed and finished a hat for The Little Senator (AKA The Little Model's Younger Brother but I have decided this it too much of a mouthful).

The style is a traditional helmet with ear flaps, extra depth at the back to keep little necks warm and a bobble on top. The difference is it is double and knitted all in one piece. That's right NO SEAMS AT ALL. Beginning with the ear flaps that are knitted in the manner of two sock toes, the back flap is joined in next, followed by the front. The main body of the hat which is knitted in two parts, the outside then the lining.
INSTRUCTIONS
Materials - 100 g of any sock weight yarn
Needles - two pairs of cable needles with 3.25 tips and longish cables
Tension - 7.5 stitches to the inch (10 rows to the inch but that is not crucial as you will see as the work proceeds)
Size - the instructions are for an 18 inch head circumference (finished measurement 17 inches allows for a snug slightly snug fit) Measure your hat recipient around the head just above the ears and adjust the number of stitches evenly across the sections for a larger or smaller size
Special techniques (with thanks to YouTube) - Judy's magic cast on (JMCO)
Magic loop knitting
Knitting in the round on two circular needles
And begin
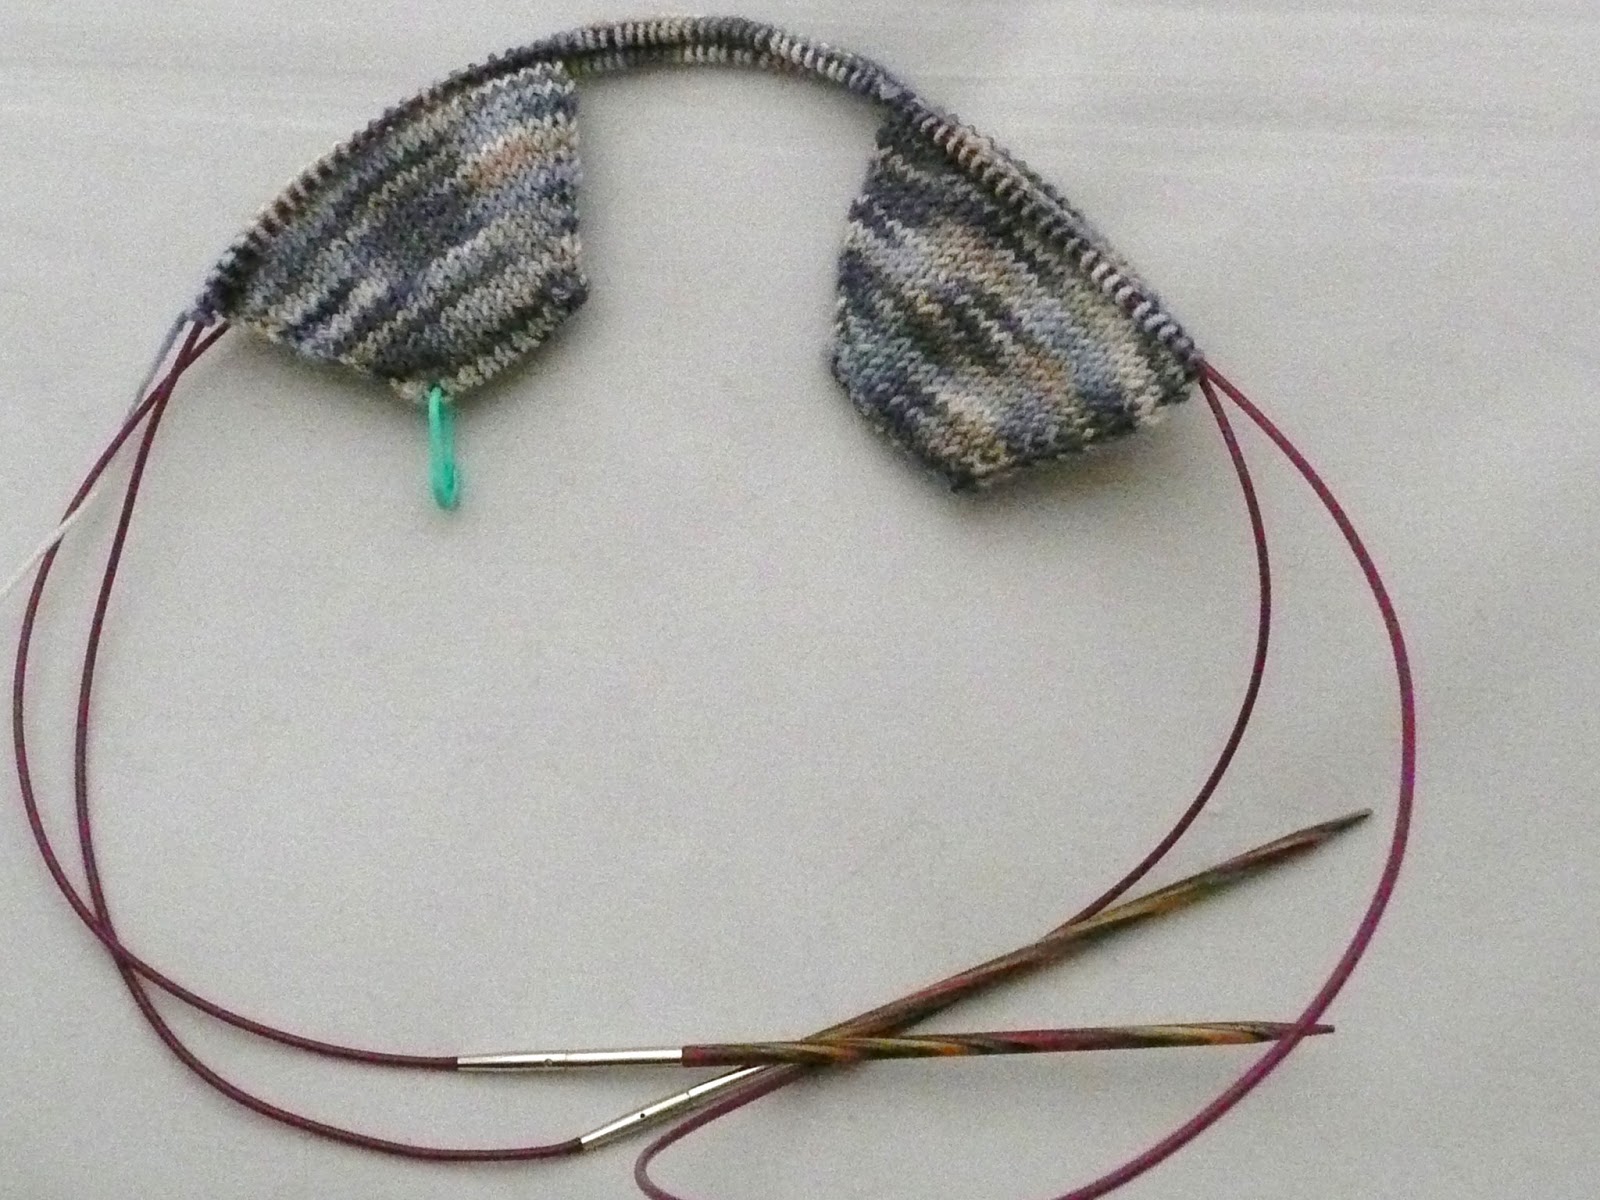
Using JMCO, two separate balls of yarn and both circulars, cast on two sets of 20 stitches as you would for knitting a pair of toe up two at a time socks. These are the ear-flaps
 |
| cast on 2 sets of 20 sts |
Holding your work ready to begin, mark the beginning of ear-flap 1 with a stitch marker, that way you will know when you have completed a full round. Knit one complete round (the order will be knit 10 stitches of ear-flap 1, 20 stitches of ear-flap 2 then 10 stitches of ear-flap 1). This is the set up round
Round 1 - beginning with side 1 ear-flap 1 *K1 M1 k to the last but 1 stitch, m1 K1. Repeat from * for sides 1 & 2 of ear-flap 2 and side 2 of ear-flap 1
Round 2 - knit
Repeat rounds 1 & 2 until each ear-flap has 60 stitches (30 a side) .
Continue straight (K all rounds) until the ear-flaps measure 2 inches
 |
| ear-flaps complete |
On a spare pair of 3.5mm needles cast on 60 stitches for the back-flap using JMCO. Join these stitches into your work as follows
Knit side 1 of ear-flap 1
Knit side 1 of back-flap
Knit side 1 then side 2 of ear-flap 2
Knit side 2 of back-flap
Knit side 2 of ear-flap 1
 |
| stitches for back-flap inserted |
You now have 120 stitches on one continuous round. Using either the magic loop method or two circular needle method knit until the back-flap section measures 1 1/2 inches
Now on your spare pair of 3.5mm needles cast on 68 stitches for the front of the hat using JMCO. Join these stitches into your work as follows.
**(Knit side 1 ear-flap 1, through side 1 back-flap and side 1 of ear-flap 2)
Knit up side 1 of your front stitches and join into a round at the beginning of side 1 again. This piece will be the outside of your hat
You will now have side 2 of your ear-flaps, back-flap piece and of your front stitches left behind (this will become your hat lining) . Place these stitches in the same order as ** above and either leave on a spare cable or a piece of waste yarn and continue on the outside of your hat
 |
| it gets a bit messy when the front joins in |
Knit straight in the round until the work measures 5 inches from the front edge
Shape crown - Place six markers evenly around the knitting
Decrease round - ***K to 2 sts before 1st marker, K2tog, slip marker K1 SSK repeat from *** five more times
Next row - Knit
Repeat these two rounds till 18 stitches remain
Next round - sl1 K2tog psso x 6 (6 stitches) removing all markers as you go
 |
| Outer layer done and beginning the linning |
Break yarn and thread yarn through the remaining stitches and finish off
Join yarn to remaining stitches and finish as for the outer section of the hat
NB before you begin decreases for the crown check for any holes of gaps where you have added the various sections - if there are any holes repair invisibly at this stage as, once finished, you can never get at the wrong side again.
After finishing off the last 6 stitches pull both free ends of yarn to wrong side and finish off (that is all the sewing up you will do) and make a bobble fixing it to the middle of the crown.
 |
| bobble added |
If you make this hat please post a picture in the comments (or a link) I would love to see what modifications or variations people think up
xx
c
 |
| Showing the symmetry of the decreases |
PS I am also getting ready to begin my second challenge, a plain grey sweater. I am hoping to make this in two shades, dark grey for the body and light for the ribbing. And I have even swatched!! Well I had to as the yarn I intend to use is a totally different weight - so huge modifications ahead
 |
| a rarely seen swatch |
7 comments:
I hope you're going to post this on Ravelry, Catherine! It's just wonderful! And how cute is The Little Senator in his new chapeau!
I second Allie's suggestion to make this available on Ravelry. It's a really clever idea and a great pattern. I immediately wanted to cast on even though I have no kids to knit for. Your little senator looks just adorable!
The hat is in my projects on Ravelry with a link back to the instructions here but I will create a pdf and post it as a free Ravelry download (when I have time!)
Fantastic! I just faved the project so I'll be able to find it again.
I love this its so cute and your stitches are beautifully neat. Now I need a small person to knit on for. I am considering doing the reverse of your challenge, knitting a pair of socks for every non sock knit I do out of sock weight.
Hi Catherine, love the little hat, I see you have linked it on my blog does this mean you want to join the stash-buster challenge, if so I will add you and your blog to the stash-busters list. :)
Uno trabajo muy bonito y original . Enhorabuena por tu blog , hay mucho arte .Un saludo
Post a Comment